
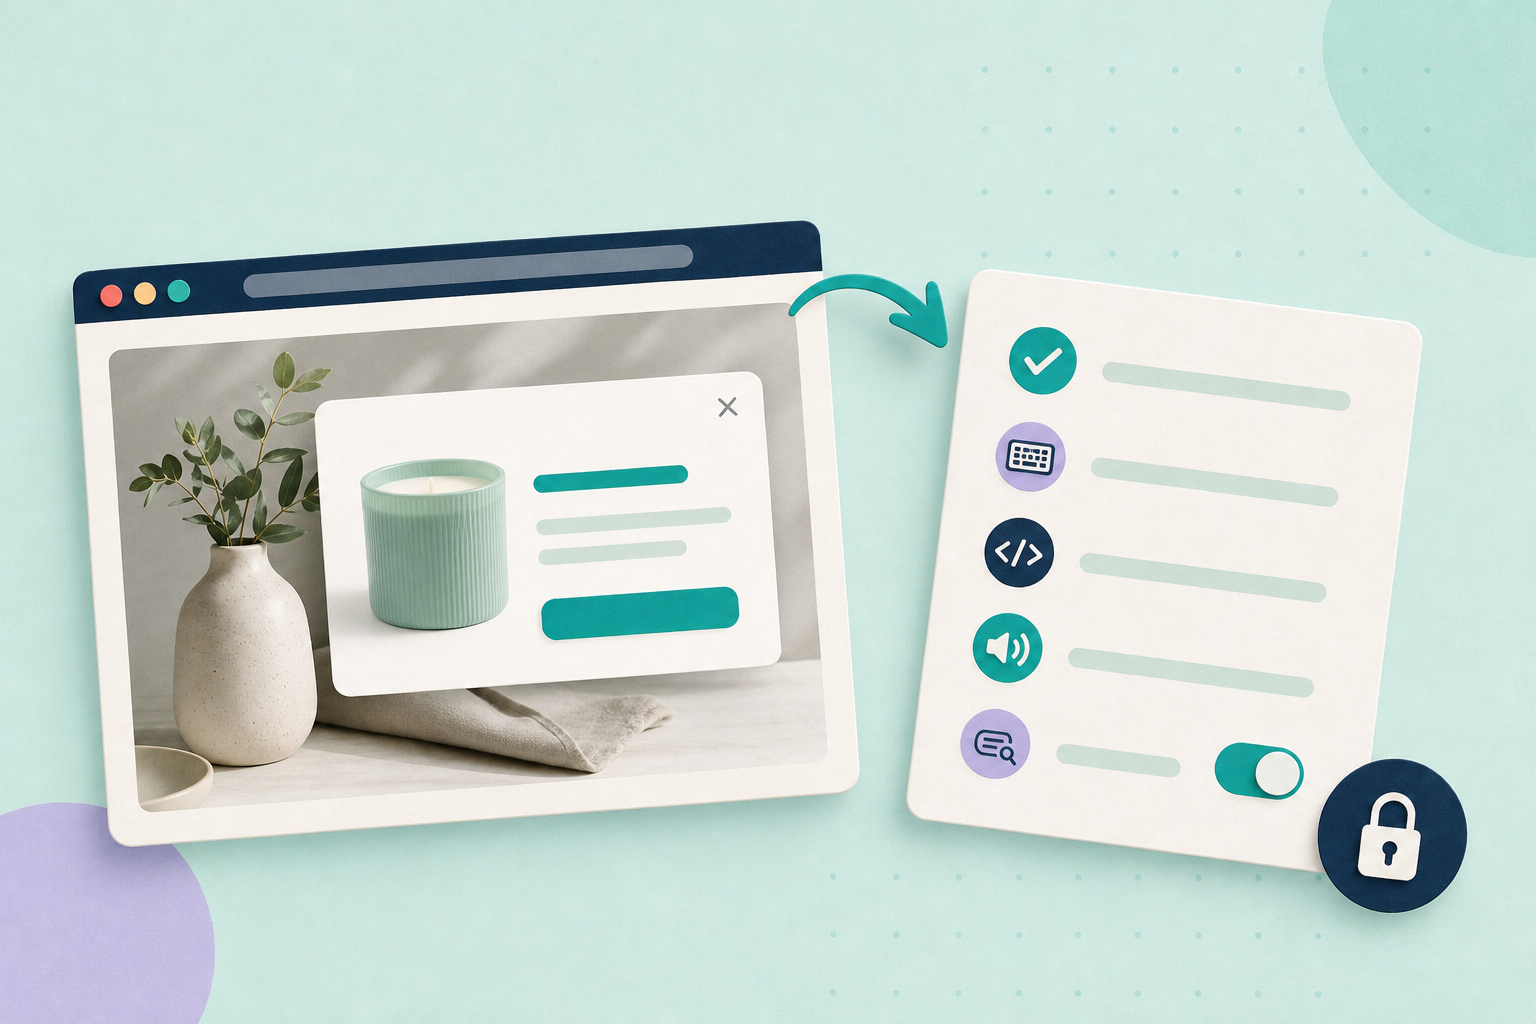
Keep it simple: if a promotion only needs to be seen by a live visitor, implement it as an in‑page, client‑side banner or toast and make that widget accessible. If the promotion should be discoverable by search engines, create a proper campaign page and explicitly control its indexation with a meta robots tag or an X‑Robots‑Tag header.
In this guide
Why this matters: poorly implemented overlays and pop‑ups either block customers (especially keyboard and screen‑reader users) or accidentally create crawlable URLs that clutter search results and your crawl budget. Fixing purpose (client‑side notice vs. a crawlable page) first makes the accessibility and SEO work straightforward.
Decide crawlability and purpose
Inventory every promotional element and record three things: what it does (announce a sale, collect email, show shipping info), how and when it appears (on first visit, on cart, on exit intent) and whether it creates a separate URL (campaign landing page). Use that to choose one of two practical routes:
- Client‑side in‑page promo (banner, toast): keep it on the existing page and implement it with HTML/CSS/JS so it’s accessible to visitors; no special index control is required because there’s no separate URL.
- Campaign landing page (dedicated URL): treat it like any other page — if you don’t want it indexed, add a page‑level
meta name="robots" content="noindex"or send anX‑Robots‑Tagheader; if you do want it to rank, allow indexing and treat canonical, structured data and sitemap inclusion as usual.
Check your theme/plugin documentation and platform accessibility commitments before assuming built‑in behaviour. Useful vendor references include WordPress accessibility coding standards and WooCommerce’s accessibility pages.
Accessibility checklist (WCAG / WAI‑ARIA)
The WAI‑ARIA APG dialog (modal) pattern documents dialog/alertdialog roles, aria-modal, aria-labelledby and aria-describedby, keyboard interaction (Tab, Shift+Tab, Escape) and focus‑management techniques. See the APG dialog guidance (dialog pattern) for details. For guidance on non‑modal announcements and using aria-live, see the WAI‑ARIA states and properties documentation (aria-live) and the APG live‑region guidance.
- Keyboard access: every promotional control (open, act on, dismiss) must be reachable with Tab / Shift+Tab and operable with Enter or Space.
- Clear dismiss control: provide a visible close button; pressing Esc should close a modal.
- Modal behaviour: trap focus inside the dialog while open and restore focus to the element that opened it when it closes.
- Accessible names and roles: use
role="dialog"orrole="alertdialog"and supplyaria-labelledbyand/oraria-describedby. - Announcements: for non‑modal banners use
aria-live="polite"(or other appropriate live region settings) so screen readers announce the message without forcing a focus change. - Don’t rely on colour alone: include icons or text labels to convey state or instructions, and ensure sufficient contrast.
- Motion and timing: don’t auto‑dismiss important content without an explicit user control to pause or dismiss animated notices.
- Test with assistive tech: run actual screen‑reader checks (NVDA, VoiceOver, TalkBack) — a single code tweak rarely fixes every real‑world scenario.
ARIA and focus notes
Incorrect focus management is one of the most common failures: a dialog that closes but leaves focus lost, or one that allows Tab to wander into the background page. Use the WAI‑ARIA Authoring Practices dialog pattern as the canonical reference for trapping and restoring focus and for naming dialogs.
SEO and indexation controls
If a promotion creates its own URL (campaign landing page), explicitly control indexing rather than depending on robots.txt or hoping client‑side tricks will hide it. Google documents the correct usage of page‑level meta robots and X‑Robots‑Tag response headers.
Beware that JavaScript rendering does not guarantee invisibility: search engines can render client‑side content and index what they render. If you need a campaign page to remain out of search results, add a meta noindex or an X‑Robots‑Tag header on the server response.
Promo patterns and indexation choices
-
In‑page banner or toast (no new URL)
When to use: ephemeral notices, shipping alerts, cookie consent and other client‑side messages that don’t deserve a separate landing page. Indexation: no special index control needed because there’s no additional URL. -
Campaign landing page (dedicated URL you do not want indexed)
When to use: time‑limited campaigns you explicitly do not want to appear in search results. Indexation: add<meta name="robots" content="noindex,follow">to the page or sendX-Robots-Tag: noindex, followin the response headers. -
Campaign page intended to rank
When to use: evergreen promotions or pages you want discoverable via search. Indexation: allow indexing, set a canonical URL, include structured data where relevant and add the page to your sitemap if appropriate.
Do not rely on robots.txt to prevent indexing when the URL can be crawled — robots.txt blocks crawling but can still let the URL be indexed if other sites link to it. Use page‑level controls to prevent indexing of campaign pages you don’t want surfaced.
Practical tests to run now
- Keyboard test: open each promo using only the keyboard. Tab to the trigger, press Enter, then Tab through all controls. Press Esc — the promo should close and focus should return to a sensible element (for example the trigger or a meaningful page element).
- Screen‑reader smoke test: with a screen reader (NVDA, VoiceOver, TalkBack) enabled, trigger the promotion and confirm it is announced and named. For non‑modal notices confirm the presence and behaviour of an
aria‑liveregion. - URL inspection: trigger the promo and watch the address bar. If a URL is added, view the page source or use the browser devtools Network tab to inspect response headers for a
meta name="robots"tag or anX‑Robots‑Tagheader and verify it matches your intention. - Server‑side check: if you don’t control the campaign page code, ask the maintainer to confirm the correct meta or header is present; if you do control it, set the header on the server and re‑test with devtools.
- Plugin/theme check: review the plugin or theme documentation for accessibility features and known issues. Don’t assume every paid plugin follows WCAG — verify the implementation in your site, and test the live behaviour.
Worked example: staging checks you can run
Worked example (staging):
- On a staging page you control, add a page-level noindex so you can test indexation without affecting production. Put this inside the <head> for a quick check:
<meta name="robots" content="noindex,follow">. Alternatively set the server response header:X-Robots-Tag: noindex, follow. - Open Chrome DevTools → Network, reload the staging URL and filter for
document. Select the page request and inspect the Response Headers. You should see either the exact response headerX-Robots-Tag: noindex, followor, if the server returned HTML, the document source should include<meta name="robots" content="noindex,follow">. - Add or identify three simple DOM selectors for the promo so your checks are reproducible: a trigger
#promo-trigger, the banner container#promo-bannerand the close control.promo-close. Use those selectors in your staging markup or ask your developer to add them temporarily. - Keyboard check (exact steps to record): Tab to
#promo-trigger, press Enter to open the banner, then Tab forward through controls until you reach.promo-close. Press Esc — the banner should close and focus should return to#promo-trigger(or a documented fallback element). Take a short note of the focus behaviour and a screenshot of the focused element before and after closing. - Screen‑reader check: with NVDA (Windows) or VoiceOver (macOS) enabled, trigger the promo and confirm the banner is announced and that the close control is reachable by keyboard. For non‑modal banners use
aria-live="polite"on the banner container so it is announced without moving focus. - Save proof: capture a DevTools Network screenshot showing the header or a page-source snapshot with the meta tag, plus the keyboard steps and a note of what the screen reader announced. Attach these files to the staging change so the behaviour is reproducible and auditable.
Note: this is a reproducible worked example you can run on your own staging site; no external recording is included here. If you can’t run the checks yourself, paste the exact meta/header strings and the DOM selectors above into your developer ticket and ask them to return the screenshots described in step 6.
Next action and related reading
Action: pick one active promotional element on your shop, run the keyboard and screen‑reader checks above, and if it creates a URL inspect that page’s source or response headers for a robots meta or X‑Robots‑Tag. Decide whether the promotion should be indexed; if not, add a meta noindex or X‑Robots‑Tag and re‑test the behaviour with keyboard and assistive tech.
Further reading from the SeenScope library:
- Manage crawl budget for growing shops: identify low-value pages to deindex
- Faceted navigation and filters: avoid duplicate URLs and indexation problems
Useful official references cited above: WAI‑ARIA Authoring Practices, WCAG on use of colour, and Google’s guidance on the robots meta tag and JavaScript SEO basics. Refer to your theme and plugin documentation for implementation details.